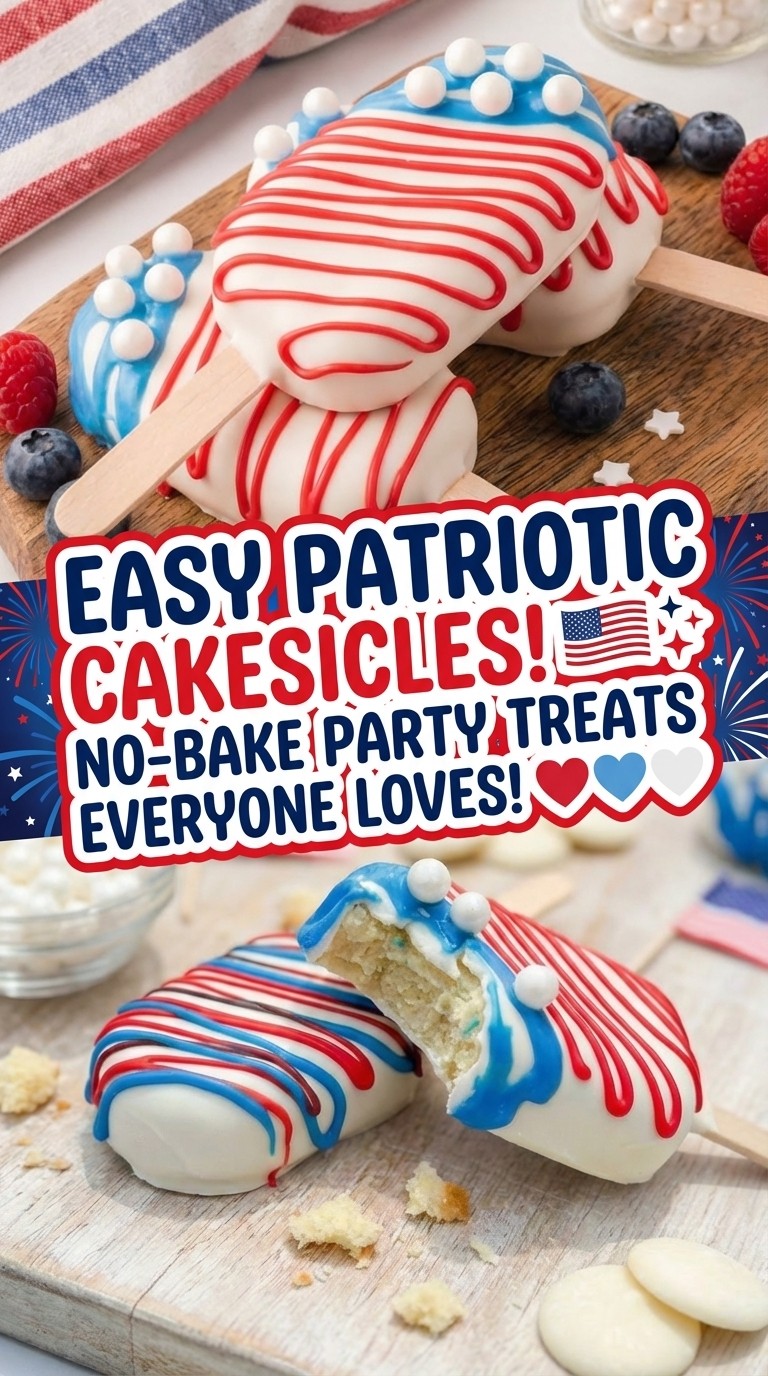
Bright colors, sweet nostalgia, and a little kitchen creativity—that’s exactly what makes these cakesicles such a standout treat for summer gatherings. There’s something so satisfying about transforming simple ingredients into eye-catching desserts that instantly feel celebration-ready. These festive pops are not just adorable, they’re incredibly practical too.
Imagine prepping a batch ahead of time, tucking them into the fridge or freezer, and bringing them out just as the party kicks off. Whether you’re planning a backyard cookout filled with Summer Barbecue Food, setting up a dessert table with Fourth Of July Cakes, or adding a sweet touch to your lineup of July 4th Appetizers, these cakesicles fit right in.
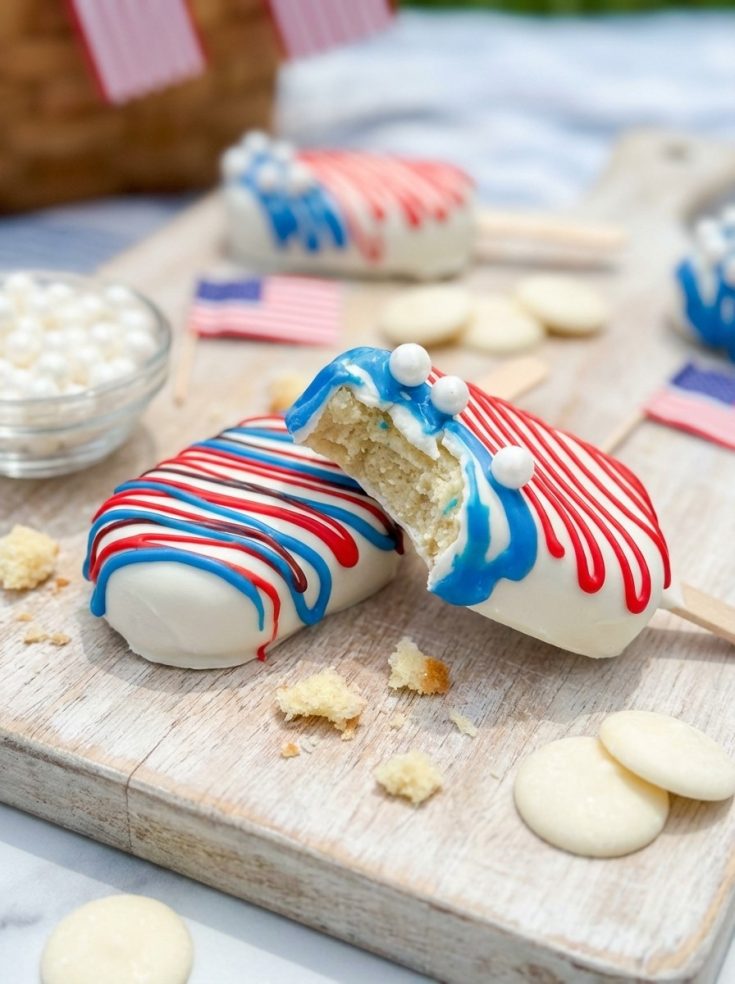
What makes them even more fun is how effortlessly they come together. Using leftover cake and frosting, you can create something that feels brand new—almost like reinventing classic Cake Ball Recipes into a more playful, handheld version. If you’ve ever enjoyed Patriotic Cake Pops, you’ll love this upgraded twist with a smooth chocolate shell and room for creative decorating.
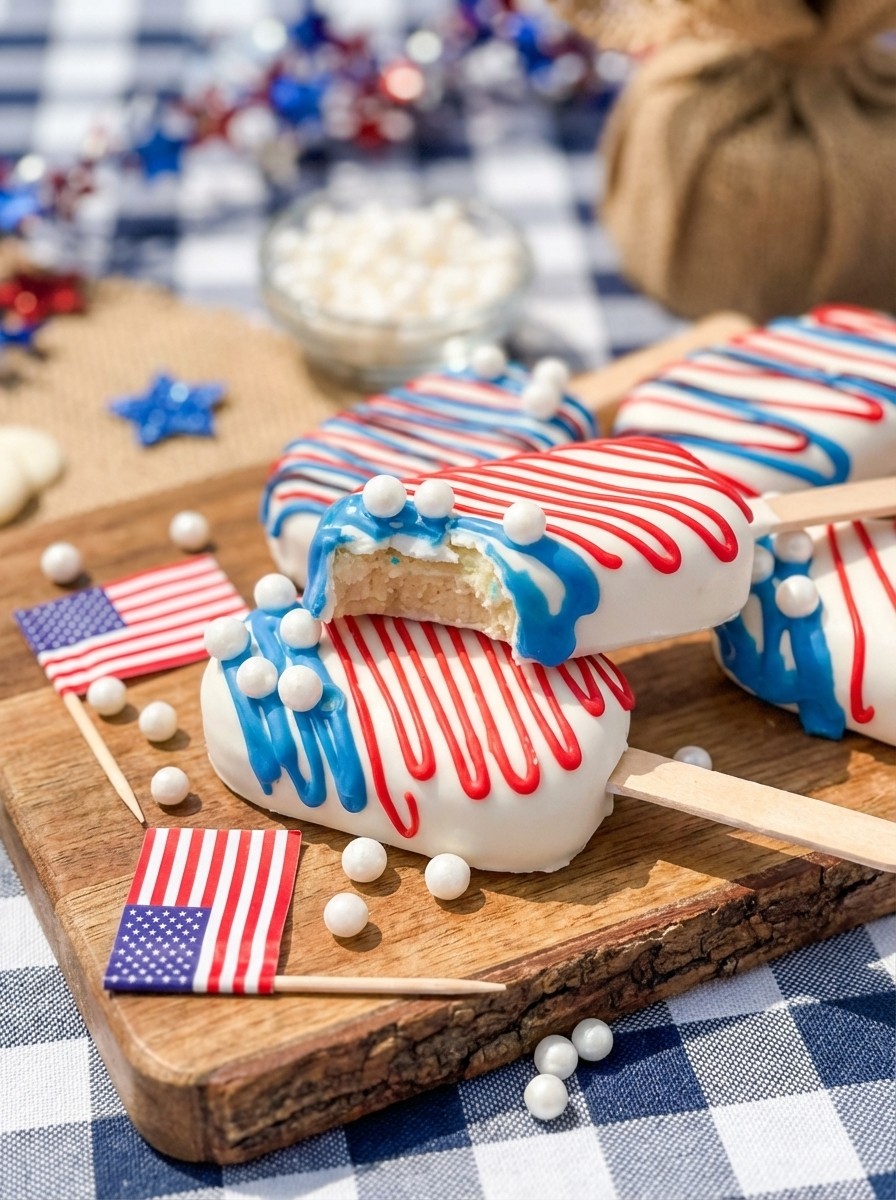
These colorful treats easily become the star of your 4th July Food spread. With their red, white, and blue drizzle, they scream celebration and instantly elevate your collection of Patriotic Desserts. Plus, they double as both a dessert and décor—perfect for impressing guests without extra effort.
Another reason they’re such a hit? Flexibility. You can whip them up as a last-minute 4th Of July Cake alternative or prepare them in advance as one of your go-to Easy Desserts For Memorial Day. Either way, they’re guaranteed to bring smiles all around.
From casual picnics to festive parties, these cakesicles check every box: easy, fun, and completely irresistible. Once you make them, they’ll quickly become a must-have in your rotation of 4th Of July Desserts and go-to Patriotic Food ideas all summer long.
Patriotic Cakesicles for 4th of July Desserts & Easy Memorial Day Treats
Ingredients
- 3 cups crumbled cake (about half of a 9×13 cake or ½ boxed mix)
- ½ cup vanilla frosting (store-bought or homemade)
- 2 cups white candy melts
- 1 tablespoon refined coconut oil (optional, for smoother coating)
- 1 cup powdered sugar
- 3 teaspoons water (adjust as needed)
- Red gel food coloring
- Blue gel food coloring
Instructions
- Begin by breaking your cake into fine crumbs. Place the cake into a large bowl and use your hands or a fork to crumble it thoroughly until no large chunks remain.
- Add the vanilla frosting into the bowl. Mix everything together slowly at first, then more firmly, until the mixture becomes thick and moldable. It should resemble soft dough and hold its shape when pressed.
- Take your cakesicle mold and start filling each cavity with the cake mixture. Press the mixture down firmly to remove air gaps and ensure the shape holds. Smooth the tops so they are even.
- Carefully insert a popsicle stick into each filled mold, pushing it gently into the center without cracking the mixture.
- Transfer the mold into the freezer and allow the cakesicles to firm up completely. This usually takes about 30 minutes, but they should feel solid before moving on.
- While the cakesicles are chilling, place the white candy melts in a microwave-safe bowl. Heat them in short intervals of about 30 seconds, stirring between each round until fully melted and smooth.
- If the melted coating seems too thick, stir in a small amount of coconut oil to loosen the texture. This helps create a smoother, more even coating.
- Remove the cakesicles from the mold once they are fully set. Handle them gently to avoid cracks.
- Dip each cakesicle into the melted white coating, ensuring it is fully covered. Lift it out and lightly tap your wrist or the stick to let any excess coating drip off.
- Place the coated cakesicles onto a sheet of parchment paper and allow them to sit undisturbed until the coating begins to harden.
- To create the decorative drizzle, mix powdered sugar with small amounts of water until you achieve a smooth, pourable consistency.
- Divide the glaze into separate bowls and tint each one using red and blue gel food coloring. Mix until the colors are vibrant and evenly blended.
- Transfer each colored glaze into a zip-top bag. Snip a very small corner from each bag to create a piping effect.
- Drizzle the red and blue icing over the cakesicles in any pattern you like—zigzags, lines, or swirls all work beautifully.
- While the drizzle is still soft, sprinkle on any decorative toppings such as sugar pearls or festive sprinkles so they stick properly.
- Allow the cakesicles to sit at room temperature until everything is fully set and firm before serving, storing, or packaging.
Welcome to Mariasskitchen.com! I’m Maria Tarrant, the proud owner and passionate curator of this website. As an avid lover of all things dessert, baking, and traveling, I’ve combined my passions to create a platform where I can share my culinary adventures and inspirations with you. From decadent cakes to scrumptious cookies, this website is a haven for dessert enthusiasts looking to explore the sweet side of life.
Join me on this delectable journey as I whip up mouthwatering recipes, offer baking tips and tricks, and take you along on my exciting travel escapades, discovering flavors from around the world. MariasSkitchen.com is a place where I pour my heart and soul into each post, hoping to ignite your own culinary passions and create unforgettable memories. So, grab a spoon, pack your bags, and let’s embark on this extraordinary adventure together!