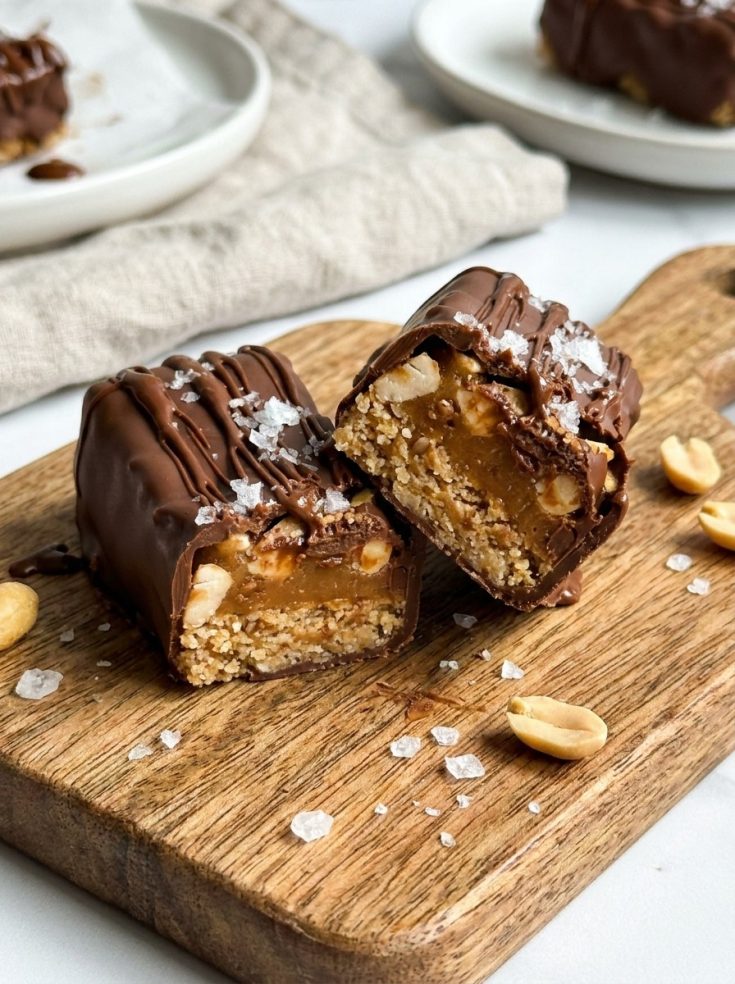
Every now and then, a homemade treat comes along that completely changes dessert expectations—and these no-bake vegan snickers bars are exactly that kind of recipe. One bite into the chewy nougat, rich peanut caramel, crunchy roasted peanuts, and silky chocolate shell, and suddenly store-bought candy bars feel like a distant memory.
This recipe has become the kind of dessert people ask for again and again. Family gatherings, celebrations, casual weekends—these bars disappear fast. After testing countless versions inspired by the classic candy favorite, this one stood out as the clear winner. It delivers that unmistakable **Snickers Bar** experience, but with better ingredients and a homemade touch that makes it unforgettable.
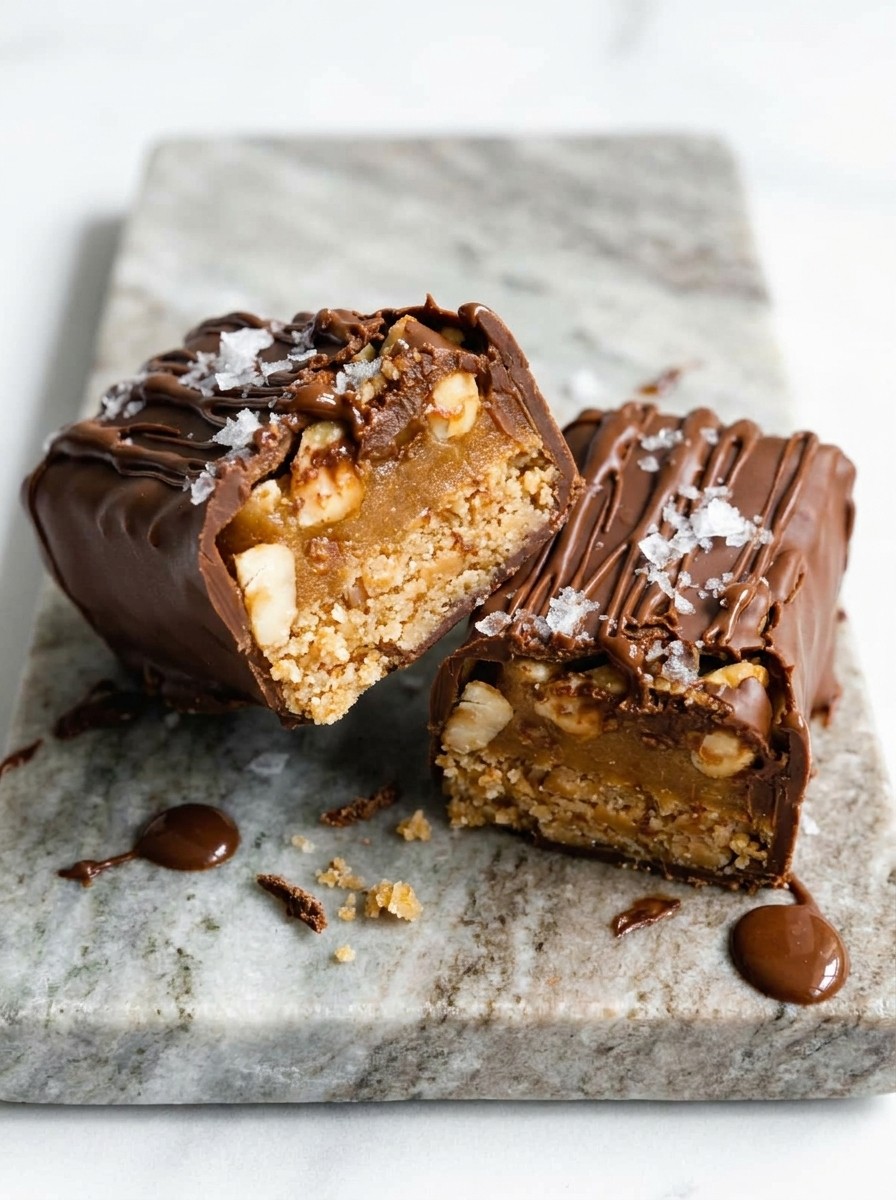
What makes these bars truly special is the balance of textures and flavors. The chewy base, luscious peanut caramel, and roasted peanuts create the perfect bite for fans of **Sweet And Salty Desserts**. The result feels indulgent, yet it’s naturally gluten-free, dairy-free, egg-free, and far healthier than traditional candy bars.
They’re also surprisingly simple to make. No oven, no complicated prep, and just a handful of ingredients come together to create a standout **Snickers Dessert** that feels bakery-worthy. It’s the kind of **Easy Bar** recipe that delivers impressive results with minimal effort.
For gatherings and celebrations, these bars are ideal **Easy Desserts For A Crowd**. Their rich flavor and satisfying layers make them feel luxurious, while the easy prep keeps stress low. Whether served chilled on a dessert tray or wrapped as a homemade gift, they’re guaranteed to impress.
The irresistible crunch from roasted peanuts gives a texture almost like **Crispy Cereal**, adding another layer of excitement in every bite. Drizzled with extra **Caramel Topping**, they become even more decadent.
For anyone who loves creative **Tasty Baking** without actually baking, this recipe is a dream. It combines the indulgence of a **Brownie Bar** with the nostalgia of a candy bar—all while fitting perfectly into your list of **easy summer dessert ideas**.
Once these bars make it into your kitchen, they’ll quickly become the only homemade snickers recipe you’ll ever need.
Frequently Asked Questions
Can I make these bars ahead of time?
Absolutely. These bars are perfect for preparing in advance since they store well in both the fridge and freezer.
Can I use another nut butter?
Yes. Almond butter or cashew butter can work, though peanut butter provides the most authentic snickers-style flavor.
Are these bars really gluten-free?
Yes, as long as your chocolate and other packaged ingredients are certified gluten-free.
Can I make them sweeter?
If you prefer extra sweetness, add a drizzle of maple syrup or additional dates to the caramel layer.
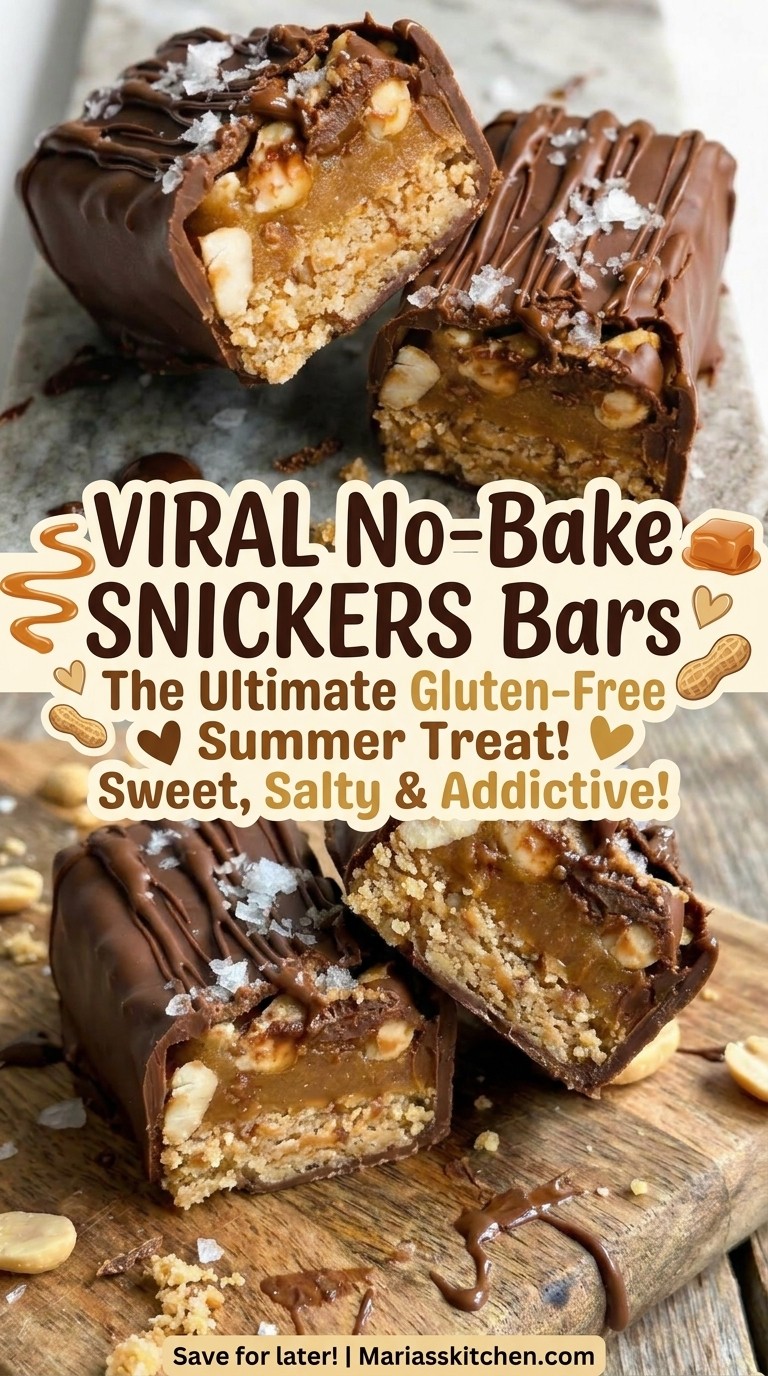
Viral No-Bake Snickers Bar Recipe – Easy Gluten-Free Sweet & Salty Dessert for Summer
Ingredients
- For the Base:
- 2 cups unsalted peanuts
- 10 Medjool dates, pitted
- 1/4 teaspoon Himalayan pink salt or sea salt
- For the Caramel Layer:
- 10 Medjool dates, pitted
- 1/2 cup rice milk (or any non-dairy milk)
- 1 cup crunchy peanut butter, divided
- 1 teaspoon vanilla extract
- 1/2 teaspoon Himalayan pink salt or sea salt
- 1 cup roasted peanuts
- For the Chocolate Coating:
- 9 oz vegan chocolate
- 1 teaspoon solid coconut oil
Instructions
Step 1: Prepare the Base
Place the unsalted peanuts into a food processor and pulse until they form a fine, crumbly texture. Add the pitted dates and salt, then continue blending until the mixture becomes sticky and fully combined.
Prepare a rectangular baking dish (12 x 3½ inches) or an 8 x 8-inch square pan by lining it with parchment paper, leaving enough overhang on the sides to lift the bars later. Transfer the peanut mixture into the pan and press it firmly into an even layer using a spatula or the back of a spoon.
Step 2: Make the Caramel
Add the dates, rice milk, 1/2 cup peanut butter, vanilla extract, and salt into a high-speed blender. Blend until completely smooth and creamy.
Pour the caramel into a bowl, then stir in the remaining 1/2 cup peanut butter until fully incorporated. This creates a thicker, richer caramel consistency.
Step 3: Assemble the Layers
Spread the caramel mixture evenly over the prepared base using a spatula. Scatter the roasted peanuts across the top and gently press them into the caramel layer so they stay secure.
Place the tray in the freezer for at least 2 hours, though overnight chilling is ideal for the best texture and easier slicing.
Step 4: Slice the Bars
Once firm, lift the slab from the pan using the parchment sling. Cut into 18 mini bars or 12 larger portions. Return the cut bars to the freezer while preparing the chocolate coating.
Step 5: Coat in Chocolate
In a heatproof bowl over simmering water, melt the vegan chocolate with coconut oil until smooth and glossy.
Dip each chilled bar into the melted chocolate, ensuring all sides are coated. Place on a cooling rack lined with parchment paper to set. For a thicker shell, repeat with a second coating.
Step 6: Store & Serve
Keep the bars in an airtight container in the refrigerator for up to one week, or freeze for up to two months. If frozen, allow them to thaw at room temperature for about one hour before serving.

Welcome to Mariasskitchen.com! I’m Maria Tarrant, the proud owner and passionate curator of this website. As an avid lover of all things dessert, baking, and traveling, I’ve combined my passions to create a platform where I can share my culinary adventures and inspirations with you. From decadent cakes to scrumptious cookies, this website is a haven for dessert enthusiasts looking to explore the sweet side of life.
Join me on this delectable journey as I whip up mouthwatering recipes, offer baking tips and tricks, and take you along on my exciting travel escapades, discovering flavors from around the world. MariasSkitchen.com is a place where I pour my heart and soul into each post, hoping to ignite your own culinary passions and create unforgettable memories. So, grab a spoon, pack your bags, and let’s embark on this extraordinary adventure together!