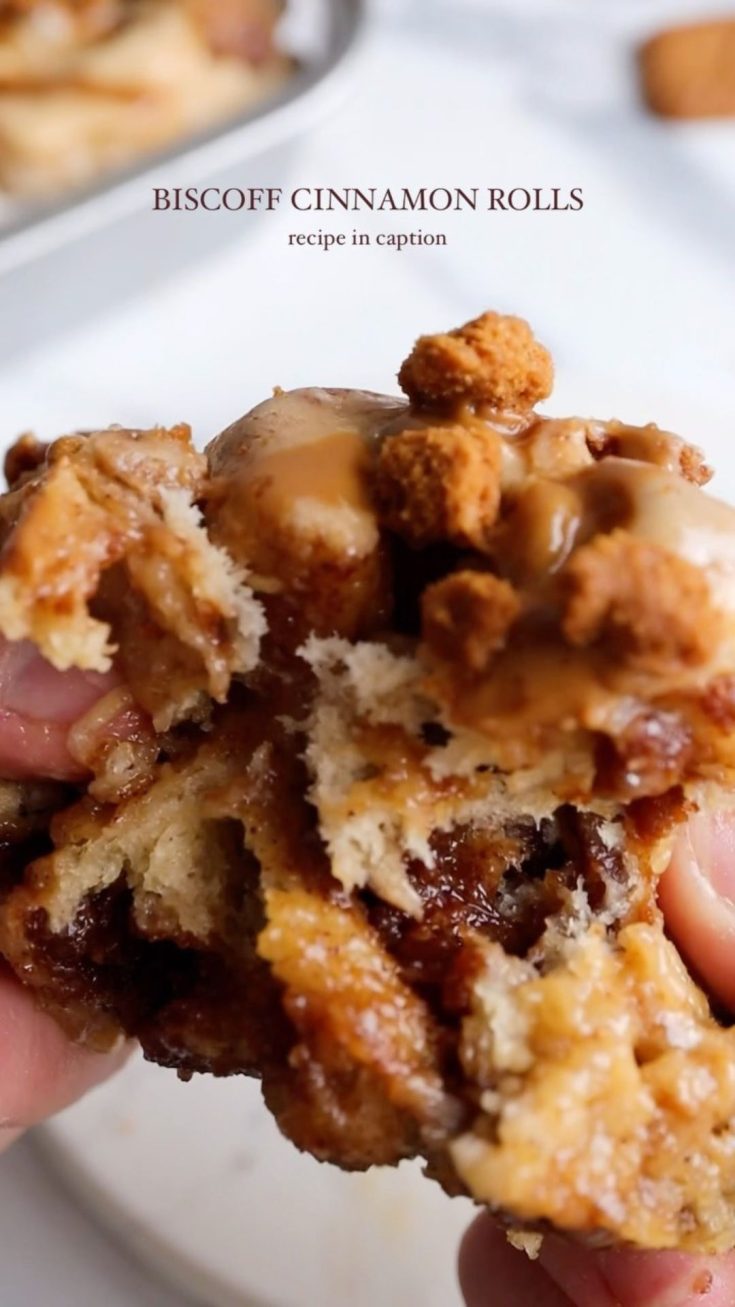
This recipe whips up a dreamy treat: soft, pillowy dough with a luscious cinnamon caramelized biscuit filling and a velvety caramelized biscuit frosting.
Biscoff Cinnamon Rolls

Ingredients
- Dough:
- 1 cup warm dairy-free milk (not too hot)
- ¼ cup brown sugar
- 2 ¼ tsp active dry yeast
- 2 cups all-purpose flour
- 1 tsp cinnamon
- ½ tsp salt
- 3 tbsp melted vegan butter
- 1 cup vegan vanilla protein
- Filling:
- ½ cup brown sugar
- 1 tbsp cinnamon
- 3 tbsp softened dairy-free butter
- ¼ cup melted Biscoff spread
- 5 crushed Biscoff biscuits
- Frosting:
- 2 tbsp dairy-free cream cheese
- ½ cup powdered sugar
- 2 tbsp melted Biscoff spread
- 1 tsp dairy-free milk
Instructions
Start by mixing warm dairy-free milk with half of the brown sugar. Sprinkle in the active dry yeast, give it a quick stir, and let it sit for 10 minutes until it's frothy.
In a large bowl, combine flour, protein, the other half of the brown sugar, salt, and cinnamon. Create a well in the center and pour in the yeast mixture and melted vegan butter. The dough should come together into a slightly sticky ball.
Knead the dough using a stand mixer or by hand for about 8-10 minutes until it's no longer sticky.
Cover the dough with a damp tea towel and let it rise in a warm place until it doubles in size.
Roll the dough out into a long rectangle.
For the filling, mix together melted Biscoff, softened butter, brown sugar, cinnamon, and vanilla in a small bowl.
Spread the filling over the dough, then sprinkle the crushed Biscoff cookies on top.
Roll the dough into a log lengthwise and cut it into thick rolls.
Place the rolls in the prepared baking dish, cover them with a damp cloth, and let them rise for 20-30 minutes.
Preheat the oven to 180°F while the rolls rise for the second time.
Bake for 20-22 minutes or until they're beautifully golden brown.
Mix the frosting ingredients together and generously ice the buns while they're still a bit warm. Enjoy!

Welcome to Mariasskitchen.com! I’m Maria Tarrant, the proud owner and passionate curator of this website. As an avid lover of all things dessert, baking, and traveling, I’ve combined my passions to create a platform where I can share my culinary adventures and inspirations with you. From decadent cakes to scrumptious cookies, this website is a haven for dessert enthusiasts looking to explore the sweet side of life.
Join me on this delectable journey as I whip up mouthwatering recipes, offer baking tips and tricks, and take you along on my exciting travel escapades, discovering flavors from around the world. MariasSkitchen.com is a place where I pour my heart and soul into each post, hoping to ignite your own culinary passions and create unforgettable memories. So, grab a spoon, pack your bags, and let’s embark on this extraordinary adventure together!