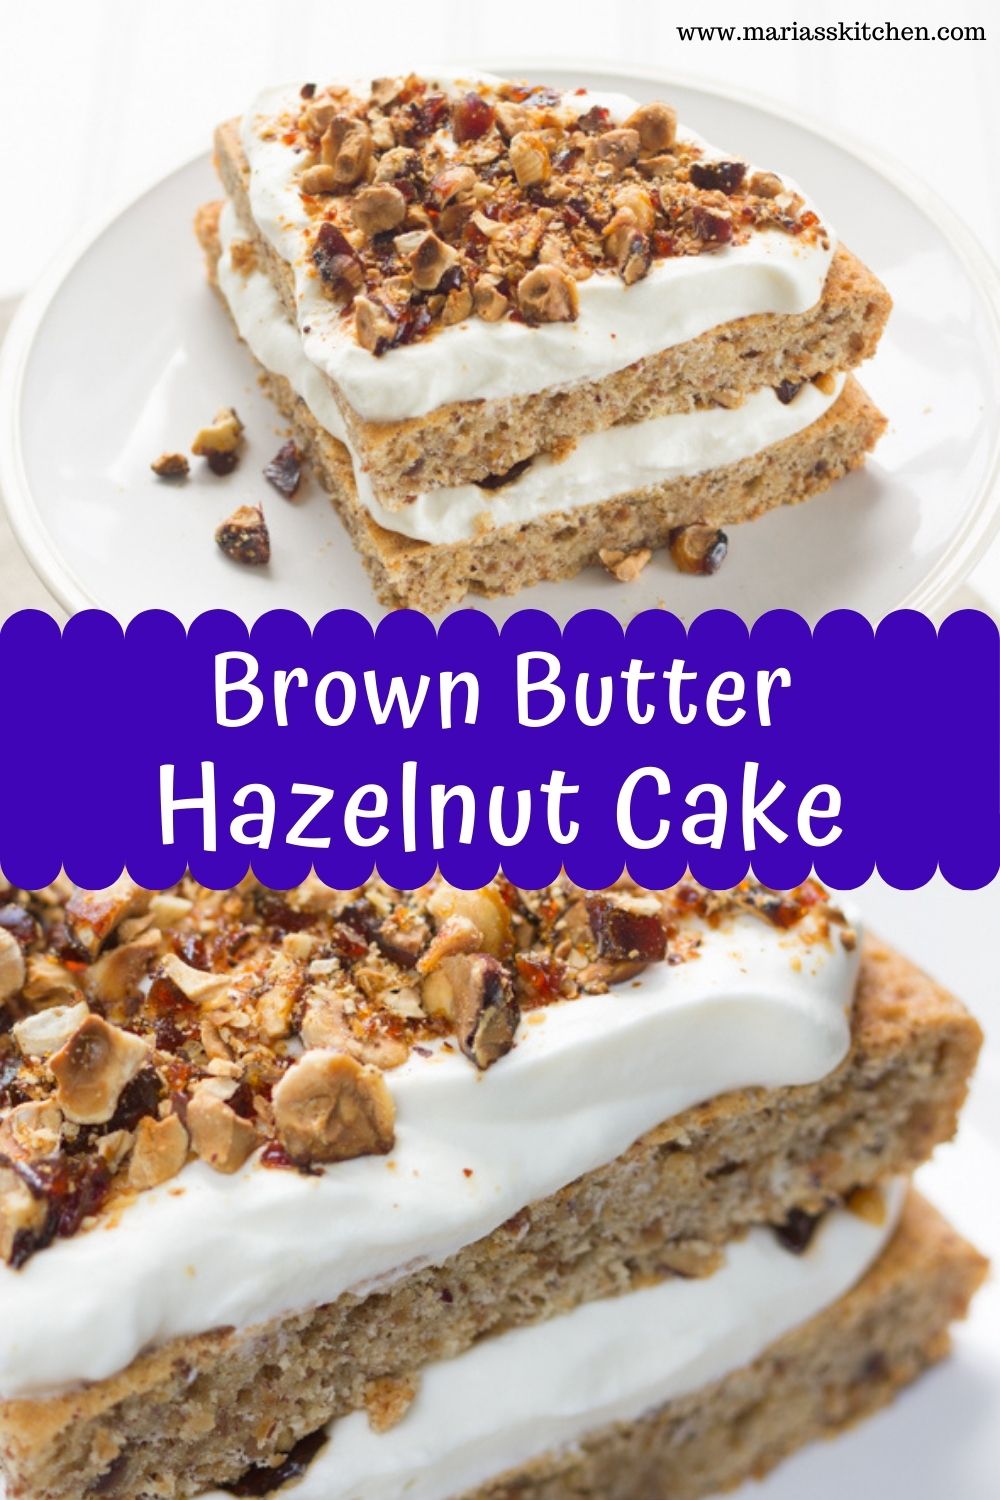
In my opinion, hazelnuts are underrated when it comes to desserts. While many desserts are almond-based, hazelnuts are more complex and versatile in both sweet and savory dishes. When I stumbled upon a recipe for brown butter hazelnut cake by Smitten Kitchen, I couldn’t resist making it. The cake turned out to be deliciously moist and nutty, and I served it with some fresh whipped cream and hazelnut praline.
Although the original recipe called for unsalted butter, I preferred to use salty butter because the combination of sweet and salty flavors is amazing. This cake is not your typical dessert as it is intensely nutty and has various textures – the soft cream, the crunchy brittle, and the nutty moist cake. Even if you don’t have time to make the pralines and cream, the cake tastes excellent on its own with some vanilla ice-cream.
Overall, if you’re looking for a dessert that is a little different and a little nutty, I highly recommend trying this brown butter hazelnut cake. It’s a unique dessert that showcases the delicious and underrated flavor of hazelnuts.
Delicious Brown Butter Hazelnut Cake
Ingredients:
- 150g / 1 cup of blanched hazelnuts
- 225g / ½ pound of salted butter
- 1 teaspoon of vanilla extract
- 125g / 1 cup of icing sugar
- 50g / 1/3 cup of flour (*can be gluten-free flour)
- 6 egg whites
- 3 tablespoons of granulated sugar
Caramelized Hazelnuts
- 75g / ½ cup of blanched hazelnuts
- 50g / 1/4 cup of castor sugar
To serve
- Caramelized hazelnuts
- Whipped cream
Directions:
To prepare the hazelnuts for the cake, preheat your oven to 175 C / 350 F. Once the oven has come to temperature, spread the hazelnuts evenly on a baking sheet and place them in the oven. Toast the hazelnuts for about 10 minutes, or until they are lightly golden and fragrant. Keep an eye on them to avoid burning, as burnt nuts can taste bitter and ruin the flavor of the cake.
After toasting, remove the hazelnuts from the oven and allow them to cool to room temperature. Once they are cool enough to handle, rub them together in a clean kitchen towel or paper towel to remove any loose skins. Some skins may still cling to the nuts, but that’s okay – they’ll add some extra flavor and texture to the cake.
While the hazelnuts are toasting and cooling, leave the oven at the same temperature in preparation for baking the cake. The toasted and cooled hazelnuts will be added to the cake batter, providing a rich and nutty flavor that complements the sweetness of the cake.
Meanwhile place the butter in a medium sized saucepan and heat until melted. Line the bottom of a 10 inch round cake tin (spring form works best) with a circle of parchment paper. Then, using a smidgen of the melted butter, grease the inside of the tin including the bottom circle of parchment paper. Leave the tin aside until you are ready to use it.
Add the vanilla to the melted butter, and heat the butter once again until it becomes nut brown. There will be a few sticky brown butter solids gathering at the bottom of the pot, so make sure and stir these in and mix it all together. When cooked it should look pale brown, and smell slightly nutty. It should take about 5 minutes to make the melted butter nut brown. Take the butter off the heat and leave aside.
Next place the cooled hazelnuts along with the icing sugar into a food processor and pulse the nuts until they are finely ground and incorporated with the icing sugar. Add the flour, and pulse to combine.
Next, whip the egg whites and granulated sugar in a stand mixer or in a large bowl using electric beaters. Whisk until fairly stiff, you should be able to turn the bowl upside down without anything spilling out!
Now you need to fold both the dry ingredients (hazelnut and sugar) and wet ingredients (vanilla nut butter) into the egg whites. It’s a little time consuming, but you need to be patient and carefully fold all the ingredients without knocking out any of that precious air. Once everything is incorporated, place the batter into the prepared tin. Place the cake in the oven for about 40/50 minutes. You can check if it’s done by sticking a sharp knife into the center of the cake. The knife should come out clean when the cake is cooked.
To create the hazelnut praline topping for the cake, start by placing the hazelnuts in a large frying pan over medium heat. Toast the nuts for about 3-5 minutes, stirring occasionally, until they turn a golden brown color and become fragrant. Keep an eye on them to avoid burning, as burnt nuts can taste bitter and spoil the praline.
Once the hazelnuts are toasted, add the sugar to the pan and continue to cook, stirring constantly, until the sugar melts and caramelizes. This can take several minutes, so be patient and keep stirring to ensure that the sugar caramelizes evenly without burning.
When the sugar has turned a golden brown color and the hazelnuts are well coated, quickly pour the mixture onto a sheet of parchment paper. Use a spatula or spoon to spread it out into an even layer. Be careful not to touch the hot mixture as it can cause severe burns.
Allow the praline to cool and harden for about an hour, or until it is completely firm and solid. Once the praline has cooled, place it into a plastic bag and seal it tightly. Use a rolling pin or heavy object to crush the praline into small pieces. The praline should be crushed enough to sprinkle on top of the cake easily.
The resulting hazelnut praline adds a delightful crunch and sweetness to the cake, making it even more delicious and indulgent. The process of making praline can be a bit tricky, but the end result is definitely worth it.
To decorate, I halved the cake and put one half on top of the other. It’s not a very well risen cake, so this is the best way to serve it. I then filled the middle with whipped cream and put more whipped cream on top. I decorated the top with the hazelnut praline pieces.

Welcome to Mariasskitchen.com! I’m Maria Tarrant, the proud owner and passionate curator of this website. As an avid lover of all things dessert, baking, and traveling, I’ve combined my passions to create a platform where I can share my culinary adventures and inspirations with you. From decadent cakes to scrumptious cookies, this website is a haven for dessert enthusiasts looking to explore the sweet side of life.
Join me on this delectable journey as I whip up mouthwatering recipes, offer baking tips and tricks, and take you along on my exciting travel escapades, discovering flavors from around the world. MariasSkitchen.com is a place where I pour my heart and soul into each post, hoping to ignite your own culinary passions and create unforgettable memories. So, grab a spoon, pack your bags, and let’s embark on this extraordinary adventure together!