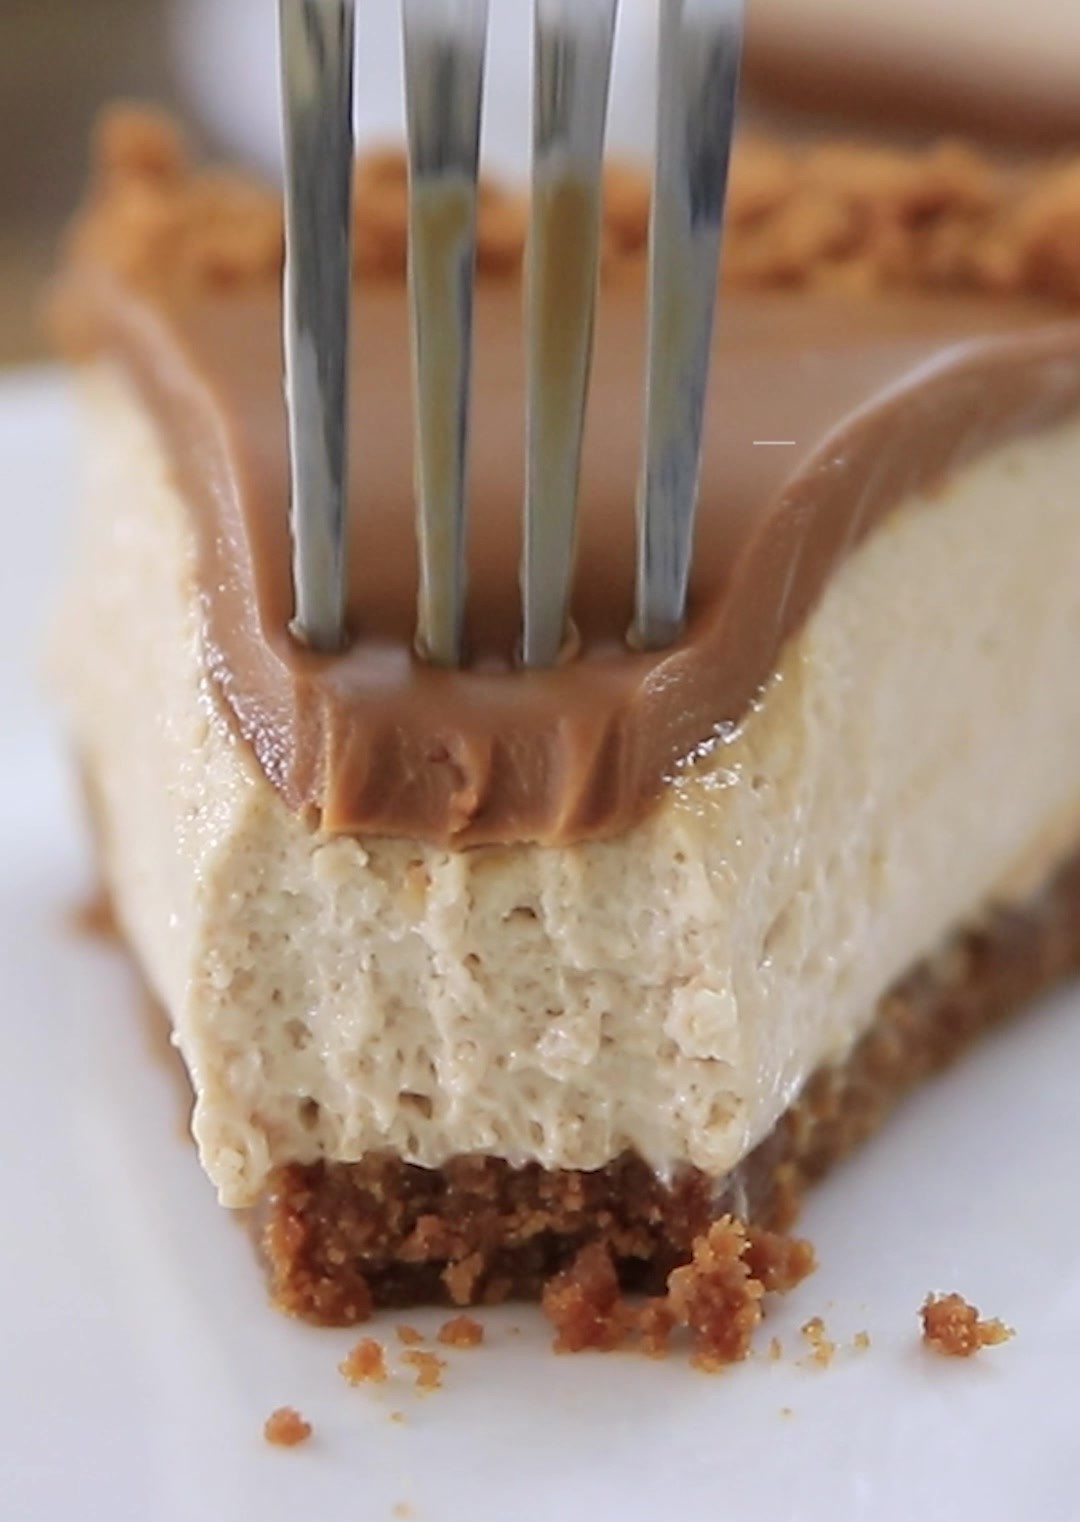
This no-bake Lotus Biscoff cheesecake is like a dream come true for Biscoff lovers. Imagine a luscious Biscoff cookie crust, a velvety cream cheese filling infused with Biscoff cookie butter, and a decadent layer of that same irresistible Biscoff spread on top. If you haven’t ventured into the world of Biscoff yet, this dessert is your golden ticket!
Here’s what you’ll need:
For the Crust:
- 250 grams of Lotus Biscoff cookies (that’s about 9 ounces)
- 6 tablespoons of melted butter (around 90 grams)
For the Filling:
- 2½ cups of cream cheese (approximately 565 grams)
- 200 grams of Lotus Biscoff cookie butter (7 ounces)
- 1 cup of cold heavy cream (240ml)
- 2/3 cup of powdered sugar (about 85 grams)
- 1 teaspoon of vanilla extract
- 14 grams of gelatin powder with 70ml of water
For the Topping:
- 200 grams of Lotus Biscoff cookie butter (around 7 ounces)
- 3-4 crushed cookies
Here’s how to whip it up:
- First, let’s tackle that crust. Use a food processor or a trusty ziploc bag to crush those Lotus Biscoff cookies into fine crumbs. Add your melted butter, give it a whirl, and then press the mixture into the bottom of a 9-inch springform pan (that’s about 23cm). Pop it in the fridge while you work on the filling.
- For the filling, start by stirring the gelatin powder and water in a small bowl. Let that magic bloom for about 10 minutes.
- In a big bowl, work some magic of your own by beating the cream cheese, vanilla extract, and cookie butter until it’s soft and silky. In another bowl, beat up the heavy cream with powdered sugar until it reaches medium-stiff peaks. Then, ever so gently, fold the whipped cream into the cream cheese mixture.
- Heat things up for the gelatin. A quick 15-second spin in the microwave should do it. Now, let’s get cozy – slowly add a few spoonfuls of the cheesecake mixture into that dissolved gelatin and give it a good stir until they’re best friends. Pour this mix back into the rest of the cheesecake filling and stir until it’s all one big happy family.
- Time to pour this dreamy concoction into the springform pan and give it a 30-minute chill in the freezer.
- While your cake is cooling its heels, work on the topping. Take your Biscoff cookie butter, place it in a heatproof bowl, and give it a microwave ride until it’s melted and oh-so-tempting. Pour this over your cheesecake while it’s still beautifully liquid.
- Pop the whole delight in the fridge and let it hang out for at least 6 hours. We’re talking set and ready for indulgence.
- Now for the final touch. Release your cake from the pan and adorn it with crushed cookies around the edges. It’s pure Biscoff bliss!
Enjoy your no-bake Lotus Biscoff cheesecake, and savor every sweet, spiced bite.
Welcome to Mariasskitchen.com! I’m Maria Tarrant, the proud owner and passionate curator of this website. As an avid lover of all things dessert, baking, and traveling, I’ve combined my passions to create a platform where I can share my culinary adventures and inspirations with you. From decadent cakes to scrumptious cookies, this website is a haven for dessert enthusiasts looking to explore the sweet side of life.
Join me on this delectable journey as I whip up mouthwatering recipes, offer baking tips and tricks, and take you along on my exciting travel escapades, discovering flavors from around the world. MariasSkitchen.com is a place where I pour my heart and soul into each post, hoping to ignite your own culinary passions and create unforgettable memories. So, grab a spoon, pack your bags, and let’s embark on this extraordinary adventure together!